Contents
Linux support for the Brainboxes Ethernet-to-Digital (ED) range of devices
The ED range of Brainboxes devices can be used on Linux. As the devices are configured via a web interface, any modern web browser is able to access the device’s settings to set them as required for your application.Once configured, the devices can be controlled using a TCP connection to the device in a language of your choice.
Device Discovery
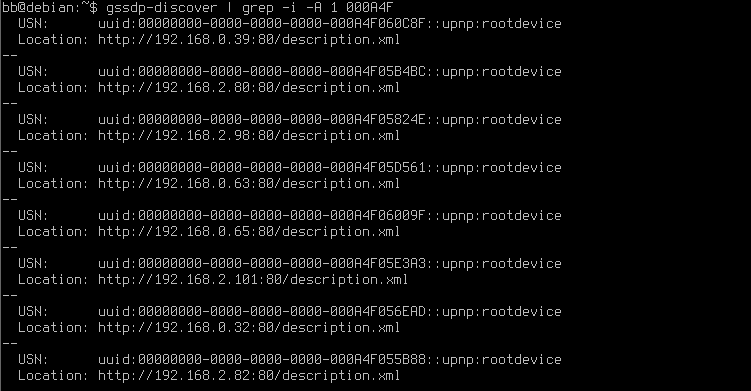
At this time, Brainboxes do not offer any software to detect the ED devices on a network in the same way that Boost.IO does on Windows. However, third party utilities are available which can discover the devices using the UPnP protocol. The main tool we recommend is gssdp-discover which is available from the Debian and Ubuntu Linux distribution repositories. To install it on these distributions, use sudo apt install gupnp-tools (you will need administrative/superuser privileges on the machine to perform this).
After installing the program, use the command gssdp-discover | grep -i -A 1 000A4F to discover any devices with a Brainboxes MAC address, and print out the IP address of the device.
Note: If your network actively blocks UPnP traffic on the network, the utility will likely not discover the devices on your network. Please contact your network administrator if you need help finding the device on your network.
Configuring the ED device
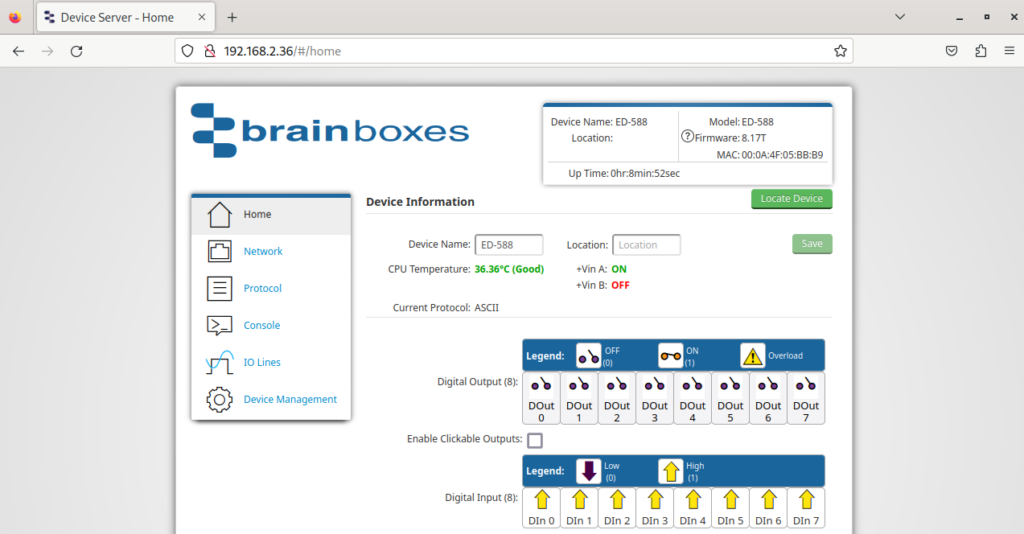
After the ED device’s IP address has been discovered, you can access the webpage of the device to configure it. Any modern browser such as Chrome or Firefox can be used to configure the device.Visit the IP address of the device on your network and you will be given access to the status page and the configuration pages.

Connecting to the ED device
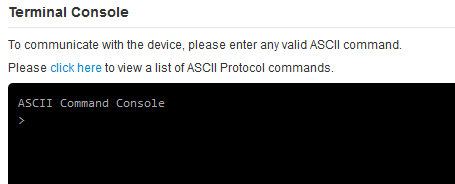
Once configured, we can connect to the device using ASCII commands over TCP in any language of your choice. A full list of ASCII commands can be found by going to the Console page and clicking the « click here » option to view the list of commands, or alternatively at this link.

ASCII commands must be terminated with a <CR> or « Character return » key (ASCII 0x0D, usually aliased as « \r » on Linux).
Python example
# Connect to an ED-588 and read the status of the input lines

import socket

# Variables for the ED IP and TCP port
edServer = "192.168.2.36"
edPort = 9500

# Create an instance to use the connection
edSocket = socket.socket(socket.AF_INET, socket.SOCK_STREAM)

# Connect to the ED device over ASCII
edSocket.connect((edServer, edPort))

# Send an ASCII commend to read the state of the outputs and inputs
edSocket.send(b"@01\r")

# Receive 6 bytes back (delimiter (1), output state (2), input state (2), <CR> (1))
edState = edSocket.recv(6)

# Convert result to integer (and remove the delimiter). Convert to binary. Pad to 16 bytes to include output state too
edStateInt = bin(int(edState[1:], 16))[2:].zfill(16)

# Print the state of each line, cycling through the binary bits (bits are MSB first).
ioLineCycle = 7
for ioLine in edStateInt[8:]:
	if ioLine == '1':
		print(f"Input {ioLineCycle} is HIGH")
	else:
		print(f"Input {ioLineCycle} is LOW")
	ioLineCycle -= 1

# Close the connection
edSocket.close()
With IO4 triggered (pulled low), this should result in the following output:
Input 7 is HIGH
Input 6 is HIGH
Input 5 is HIGH
Input 4 is LOW
Input 3 is HIGH
Input 2 is HIGH
Input 1 is HIGH
Input 0 is HIGH
